By now, unless you’re a really steadfast old-school photographer, you’ve probably embraced the wonders of digital cameras. And it’s no wonder, with their ability to take as many pictures as your memory card will hold, preview images instantly on your camera’s LCD screen, and easily whisk digital copies out to friends and family.
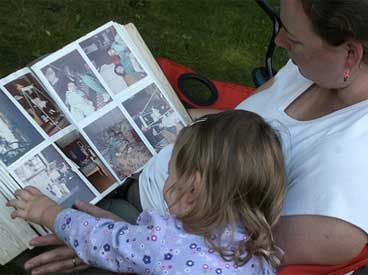
But what about photographs from before you started snapping away in digital delight? You know, the ones languishing in dusty photo albums or shoeboxes tucked in the back of your closet? Great photography didn’t start with the invention of the digital camera, after all, so it’s quite likely you’ve got some old print photographs lying around somewhere, whether they’re your own snapshots or hundred-year-old black-and-white family portraits.
So what can you do with them? And why would you want to go through the trouble? Read on to find out!
Why digitize?
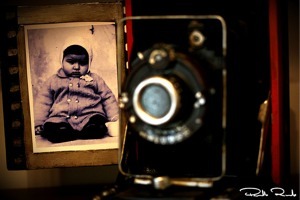
Why should you take the time to digitize your old photographs? After all, doing so can be an extremely lengthy and sometimes expensive process. There are, however, several important points to consider as you decide whether it’s worth it to you.
- Preserving history. Unless you have the original photo slides or negatives archived somewhere safe, those old photos you have might be the only copies of those images that exist. As you’ve probably noticed, old photos tend to degrade over time and exposure to light, moisture, and other environmental factors. Creating digital copies allows you to keep the original while also safeguarding those memories in digital format, which is easy to back up.
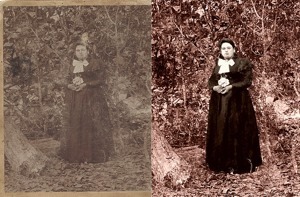
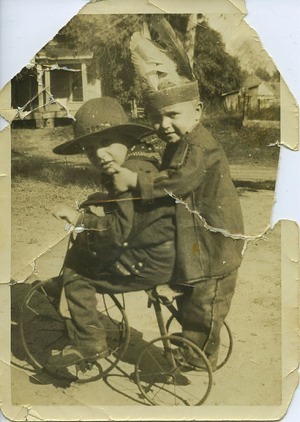
- Restoring images and repairing damage. With a digital copy, you can repair a lot of the damage that occurs to physical prints over time. Scratches and tears, discoloration, dust spots, and other issues can all be fixed with the right software and a little time and know-how. And all this can be done while leaving the original untouched, thus preserving its historical value.
- Sharing is caring. While it’s certainly possible to make a copy of a physical print, it’s much easier to make a digital copy of a digital file. Once that copy is made, you can send it anywhere in the world with a simple email, post it online, or do anything else you want to with it.
Should you try doing it yourself?
If you have either a stand-alone desk scanner or an all-in-one printer, you can scan your old photos yourself. Such devices are pretty cheap these days, and most scan at high resolution. There are some pros and cons to doing it yourself, though.
DIY pros
- It’s free, assuming you already own the scanner.
- You control the set-up for each photo you scan, so you can adjust for layout, size, and so on.
- The photos never leave your possession, so you don’t have to worry about precious memories getting lost in transit.
- Immediate gratification — you’ll have the digital copy as soon as you scan it.
- You control the creation of the digital files, so you can choose how to name, organize, and store them.
DIY cons
- Home scanners are generally slow, so if you have hundreds of photos to scan, it will take you a lot of time.
- You’ll need some technical knowledge of the scanning device and software and how to handle the resulting digital file.
- Doing any major restoration or alteration requires software that can be expensive and challenging to learn.
Scan it yourself
If you’re going to scan your photos yourself, here are a few tips to help you get the best results.
- If you have the option and ability to scan negatives or slides instead of prints, do so. They are far less likely to be discolored or scratched, and you can scan them at a higher resolution than prints. (More on that in a moment.)
- Before you begin, check your photographs for dust and debris. Don’t attempt to clean or repair the actual prints; if they’re dirty, simply wipe gently with a clean, dry, soft cloth. Never use liquid on photographs — it will discolor them.
- Check the scanner bed (called the platen), and clean it if necessary. Again, use a clean, soft cloth — you can use a bit of cleaning solution like Windex if you’d like, but be sure to apply it to the cloth, not directly to the platen (to avoid getting liquid in the scanner). Be sure the platen is completely dry before you put any photographs on it.
- Adjust the settings. Check your scanner’s manual to see how to adjust the resolution of the scans. Generally, your goal is to aim for 300 DPI (dots per inch) at a size of 8 x 10 inches. Most scanners let you set this directly, but some only allow you to set the scanning resolution instead of the target size; if that’s the case, you’ll have to do some math. If you’re scanning negatives or slides, you’ll have to use a very high resolution — around 3,000 DPI — because the original is so small. Note that using a target resolution higher than 300 DPI is generally not necessary, as it won’t yield any better results. This is because you’re scanning a photograph that’s only printed at about 300 DPI, so there isn’t much more data there to scan!
- Save your images as either .jpg or .tif files, and be sure to use the highest quality and lowest compression settings.
Let someone else do the work
If scanning your photos yourself sounds like too much work or you have a large number of photos to scan, you might decide to send your photos off to a scanning and digitizing service to do it for you. There are some significant advantages to this option. Many companies do things like color correction, cropping, rotating, red-eye removal, and fixing dust and scratches.
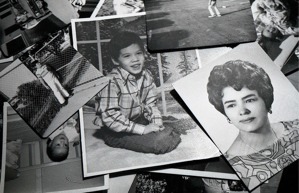
Before you send off your precious memories to a company for scanning, be sure to read all the fine print and know exactly what you’ll be getting, what they’ll be doing, and how much it costs. Find out if they include retouching, and if so, is it done by a human being for each photo individually or by a computer? How are the digital files named and organized, and how will they be sent back to you? What sort of packaging do they require your photos be sent using, and how will they be returned?
Keep your memories close
However you decide to digitize your old print photos, the results will be completely worth it. Imagine being able to write a family history and post it to your website, including photographs of your ancestors. As long as you keep a backup, your photographs will be safe from fire, flood, and loss and available for future generations to enjoy.
This story originally appeared on Tecca. More from Tecca:
Beginner’s guide to digital photography
7 ways to manage your digital photo collection
Digital Photography 101: The care and feeding of your digital camera
Become a Saturday Evening Post member and enjoy unlimited access. Subscribe now
